Dearest Internets! I have been so busy, I haven't had time to sit down and blog our many adventures! We are in full on Summer mode here in our house. Lots of work, lots of play, very little extra time! I set a goal this summer to spend time teaching my kids how to do chores instead of just sending them to do various jobs and it's been great. I've also encouraged them to do chores and fulfill their responsibilities by giving them the opportunity to earn all of the fun activities we've been doing. It's been fabulous to give them some of the power--they don't do the work they don't get to do the play. But that's a post for another day. Luckily, I have some pretty great kids and we've had a lot of fun. So without further ado (because this is going to be an eternally long post anyway!) Here are some of the things we've done--we've made Kool Aid Taffy, we made Squirty Sidewalk Chalk and I made a cute stamped bracelet for a friend. How I LOVE Pinterest!!
Kool Aid Taffy






Kool Aid Taffy
link found here
Before Pinterest provided the super helpful "Hey Smarty! You've already pinned this!" feature I pinned this easily two or three times! So I KNEW I had to give it a try. The pin took me to the food.com website where they proclaim that this can be made in 11 minutes using things I already have onhand. Fast! Cheap! Easy! By now, Internets, you know me well enough to know that when it comes to making a craft project, these 3 characteristics equal a winner in my book. We got out the stuff and got started. (I don't have a supplies picture--do you really want to see the 5 gallon bucket I keep my sugar in?) First, Don Diego and Mademoiselle buttered some cookie sheets. Er, a(n OLD kind of dang gross don't judge) cookie sheet and a pizza pan. My cookies sheets were out on loan at the time.
Blurry action shot. Don Diego is clearly
a speedy butterer.
Then, in a pot, I put some sugar and cornstarch and mixed it up.
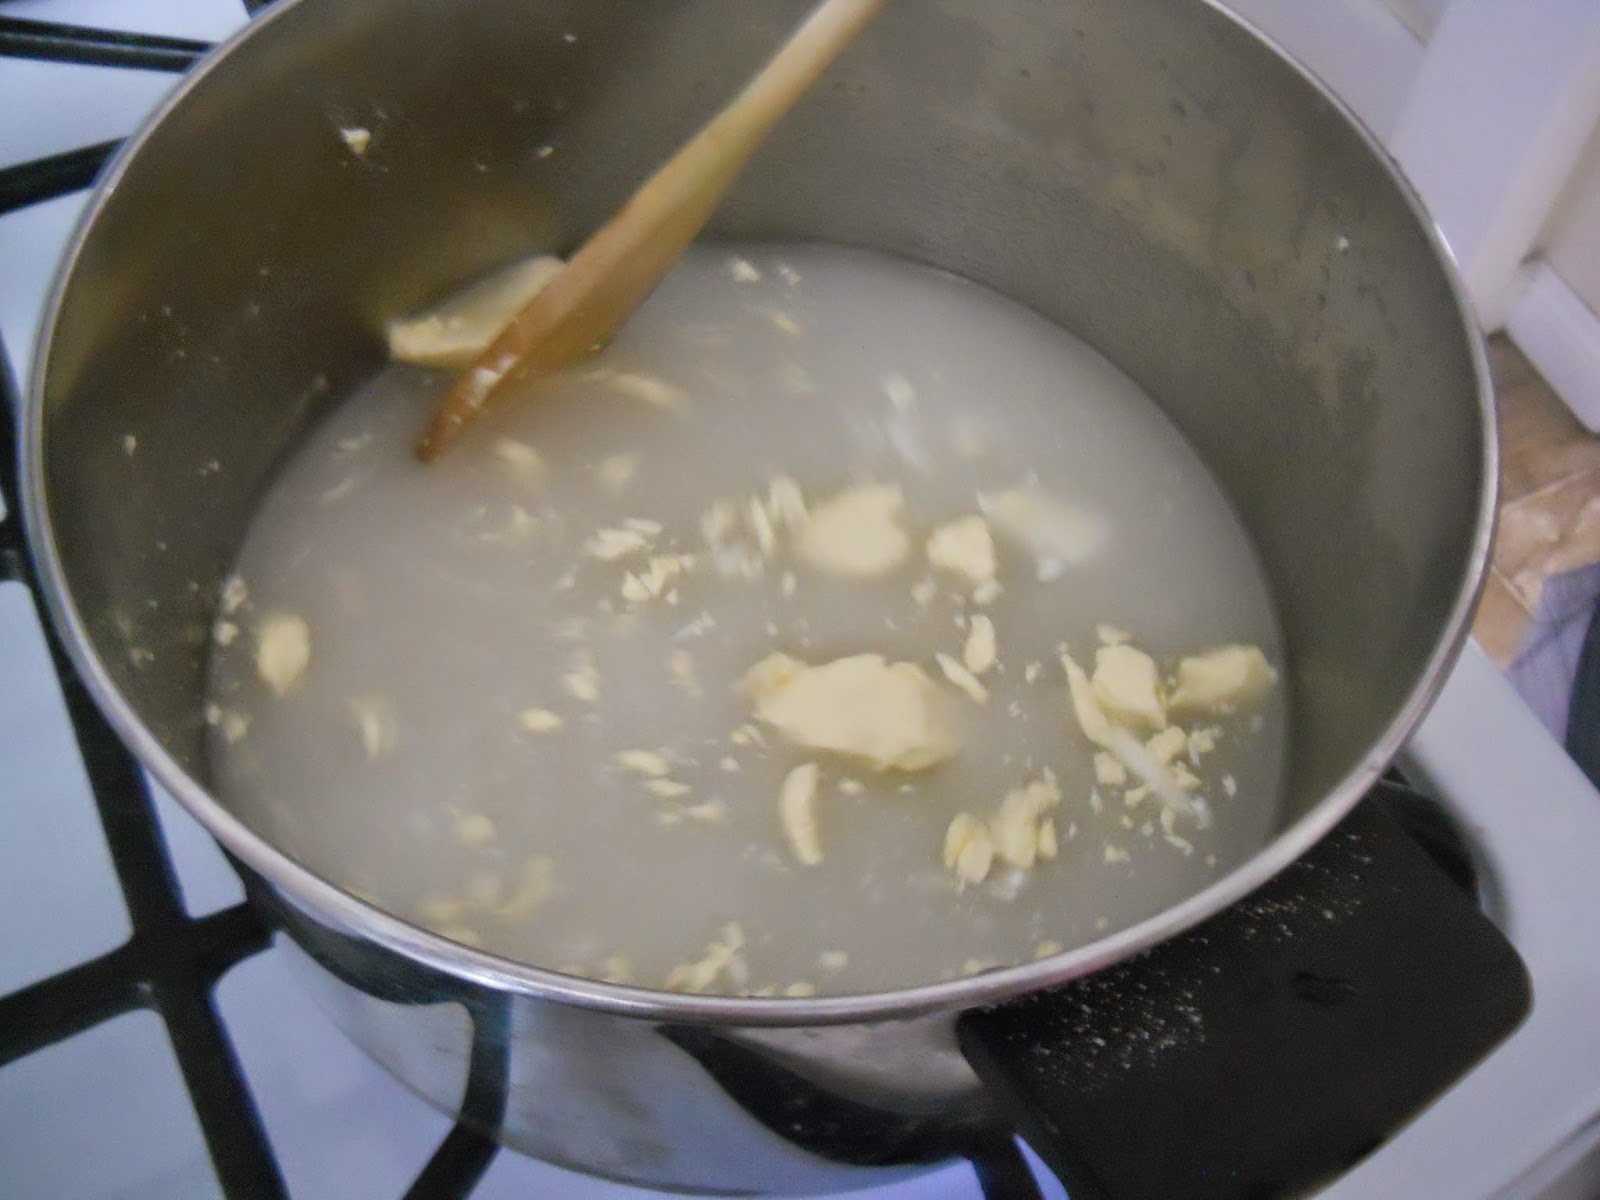
Then I added the corn syrup, water, butter and salt.
At this point, I started digging through kitchen drawers for my candy thermometer. It was nowhere to be found. I resigned myself to being forced to use the whole, "dump a little bit in a glass of super cold water and see if it's reached "hard ball" stage or not." I hate doing this, I never seem to get it right! Maybe this step made me cuss a little.
I let the syrup mixture cook and cook and cook stirring pretty frequently.
Once it reached "hard ball" stage where, when you pour a little in a glass of cold water it turns into, well, a hard ball. (Not just a clever name, the "hard ball stage.")
I turned off the heat and Mademoiselle poured in this little packet o' fun.
I mixed it up and then dumped it onto the cookie sheet.
The entire pot full fit on just one cookie sheet. I used a wooden spoon to smooth it out
Mademoiselle said, "Ewww! It looks like blood!" Muahahaha!
At this point, the instructions say to wait for a bit for it to cool enough to be able to handle it so you can "pull" it. So I waited, I used a scraper to sort of mess with it to see if it was hardening..
Nope. Not hardening. It cooled and I tried to get some up off the pan to pull it and it was gloppy and sticky. I waited a little longer...
Still gloppy. Spoiler alert: It never progressed past this gloppy stage, leading me to believe I didn't let it boil long enough. This stuff was sticky and gross, it got EVERYWHERE while I tried to work with it and was really just a frustrating MESS. But it tasted GREAT, right Boy?
He liked.
So this pin ended up being a big fat sticky fail for me! I don't blame it on the recipe, I blame it on my inability to judge the hardness of a ball of syrup in water. I wouldn't try this again for any amount of money in the whole wide world without a candy thermometer. Sigh. Bummer! Oh well. Moving on!
Squirty Sidewalk Chalk
link here
Here's another pin I have pinned maybe 3 kajillion times! I was super excited to try this one. I was in charge of the activity for a family night and thought this would be perfect! Here are the materials I used:
(water not pictured. Poor water.)
The blog author over at Growing a Jeweled Rose recommended using neon food coloring and I heartily agree! It makes the colors so bright and really vibrant! First, I added cornstarch to the squirt bottles (which I got at Walmart for .97 each)
Can we just pause momentarily to bemoan how POWDERY corn starch is? You guys, I made a HUGE mess doing this!
Then I added the baking soda
the water...
and the food coloring
And then shake-a shake-a shake-a!
Okay, the problem I had here is the cornstarch always settles at the bottom and gets all gloppy and it was hard to mix up. I had to stick a knife in and mix it that way. And it got gloppy again later. Next time, I will add cornstarch last.
So I made three of them so each kid would have a color
I put some vinegar in three more bottles
And we headed out to make a mess! I mean, some art!
Mademoiselle (with pink of course!) and
Poquito Tito exhibiting artistic awesomeness
The Boy and Poquito Tito
Don Diego wanted to play tic tac toe
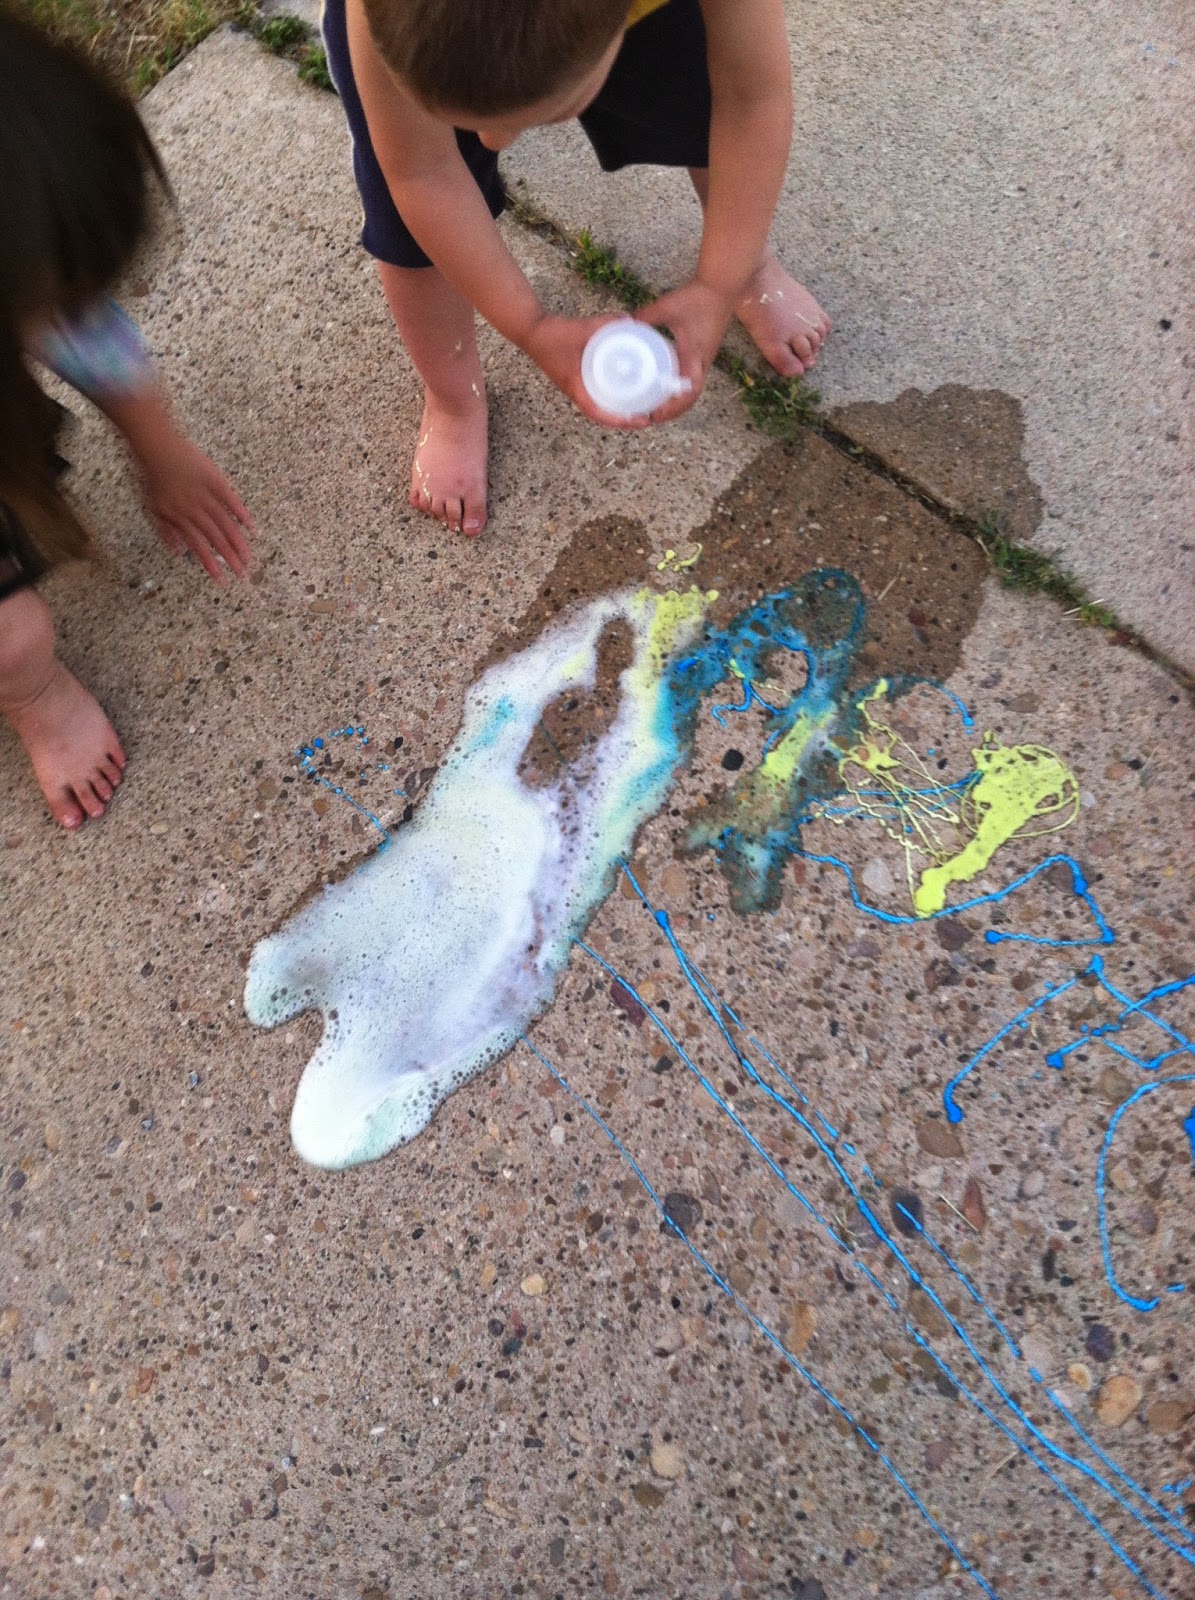
Once they ran out of paint, I gave them the vinegar and we watched the paint erupt!
This pin was ABSOLUTELY a success. (I would put the vinegar in a spray bottle instead of a squirt bottle next time) I highly recommend it. Plus, the art has lasted a week so far in our driveway! This pin was awesome. I'm so glad we did it!
Finally...
Metal Stamped Bracelet
Funny story. So I often have insomnia and have to take Ambien to sleep. My friends and family know that if I post stuff on my Facebook or send text messages after like 9:30PM, chances are I will have zero recollection of it the next day! So one day, we get these in the mail
These are the little metal stampers used to make the cute
stamped jewelry you see everywhere! Hooray!
It was like Christmas! Then, a couple of days later, the Boy is looking at our credit card statement and asked what we bought from Amazon for $30. Um...some little metal stampers used to make the cute stamped jewelry you see everywhere? One Click Shipping+Ambien is a bad combination for this girl! The upside is that when I see pins like this one, I can make it myself!
I am in love with this leather wrap bracelet and the personalization is just icing on the cake here! Materials shot:
So initially I was planning on using this wire wrapping technique to attach the clasp to the ends of the bracelet but that involved a skill level I clearly do not possess so pretend the wire isn't in the picture. I didn't end up needing it. I also ended up using different metal blanks, but you'll see those later.
So I wanted to make a bracelet for a friend's birthday but didn't want to give her a gift that looked like they'd put a little somethin somethin in the Kool Aid in Kindergarten and then made a kid make stamped leather wrap bracelet. So I decided to make one for me first. First, I stamped the blanks with the initials of everyone in my family
I colored it with a Sharpie so you could see the letter better
and wiped it off with a silver polishing cloth
Okay, that's hard to read..here are all 5 of them
Then I measured how much length I wanted the bracelet to be and cut it
After abandoning the wire wrapping, I decided to just use regular jump rings to attach the clasps. I used a thumb tack (fancy, right?) to poke holes in either end of the leather strip and threaded the opened jump ring through the hole.
I attached the clasp to one end
I threaded the letters on (I tied a couple of knots in the leather to keep the letter charms in one sort of area so they wouldn't slide all over the entire length of the bracelet) and then attached the clasp to the other end of the bracelet. Voila!
Once I had it on, I noticed that the weight of the clasp was really pulling on one of those strands so I ended up disassembling it, cutting it down to only wrap three times and then reattaching the clasp. Problem solved! Tada!
I think it turned out really cute. Because I'm a complete slacker (seriously! It's a problem!) I haven't actually given my cute friend her bracelet yet. I suppose I'd better hurry and do this before she sees this post! Act surprised, Jessica! Act surprised!
Okay, Internets. That is the end of my super long blog post! I am going to be better about posting here so it doesn't take all day to write the post and half the day to read it! Tomorrow we're doing...BUBBLES THAT BOUNCE! Are you so excited? You should be, but try to control yourself. The neighbors will talk!

.PNG)


